In my apartment I control my lights using Zigbee2MQTT, Mosquitto (MQTT), and openHAB all running on Kubernetes. Here’s the how and why for this over-engineered nonsense.
But why?
You could probably get similar features with various smart home hubs. Philosophically, I am opposed to my lights relying on services outside of my control. My goals are:
- Everything can run locally and if the internet is down.
- No hard dependencies on third party services.
- Control all properties of the lights programmatically. (On/off, color, etc.)
- Automate deployment as much as possible.
- Learn Kubernetes.
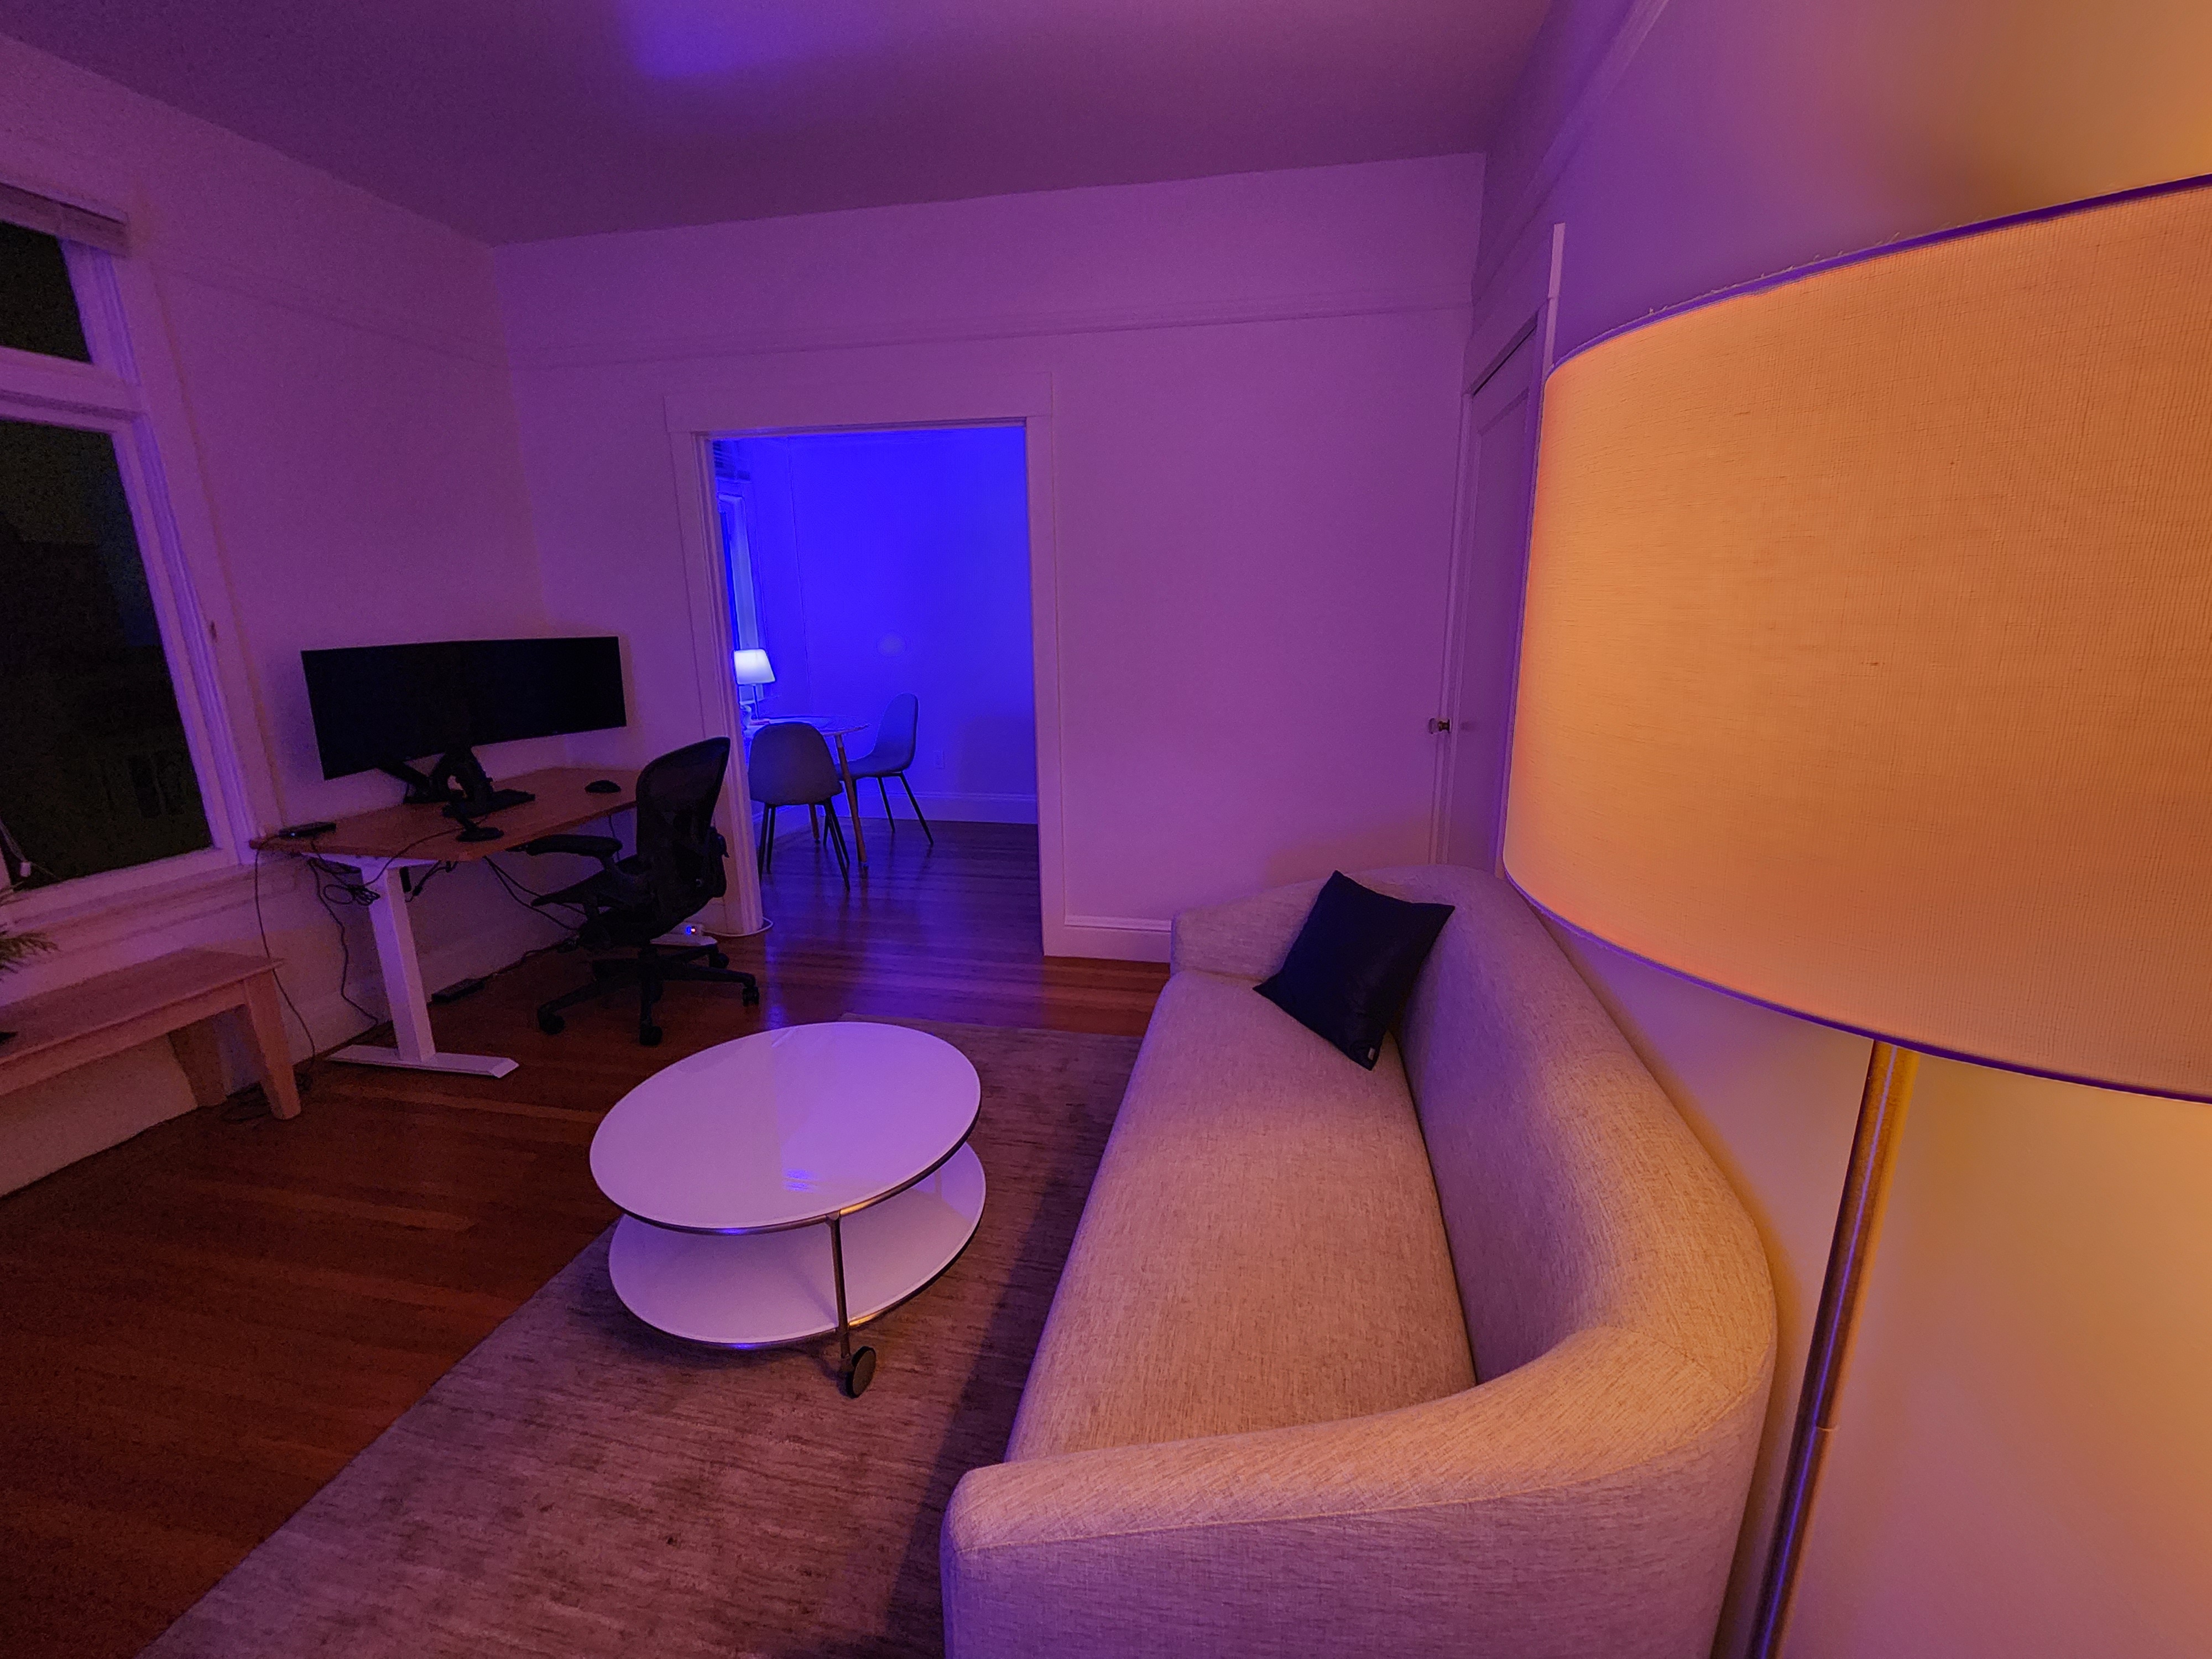
When it’s all working I can control my lights from anywhere using a VPN. I can also use other Zigbee devices like smart plugs to turn things on/off when I’m away. OpenHAB plugins open up a world of possibilities for controlling the lights.
Hardware
- ConBee II Zigbee USB Gateway
- Philips Hue Zigbee Light Bulbs
- An old desktop PC (i5-6600K, 8GB DDR3)1
Tutorial
I run a single-node k3s cluster managed by Flux on Arch Linux. All the Kubernetes configs are defined on GitHub for reference.
Prerequisites
You should know the basics of Kubernetes. You should have a working Kubernetes cluster with a proxy like Traefik.
Set up services
Create zigbee2mqtt-values.yaml, mosquitto-values.yaml, and openhab-values.yaml (or use Flux). You can find my Flux configs in the GitHub repo, but you will need to modify them to fit your environment. You’ll probably also want an ingress so you can connect to openHAB.
At a high level, we have zigbee2mqtt for the Zigbee controller passing messages to mosquitto. OpenHAB subscribes to mosquitto and controls the lights by publishing messages.
Something like this will install the three helm charts and apply the configuration values:
helm repo add k8s-at-home https://k8s-at-home.com/charts/
helm repo add kilip https://charts.itstoni.com/

helm repo update

helm install zigbee2mqtt k8s-at-home/zigbee2mqtt -f zibgee2mqtt-values.yaml
helm install mosquitto k8s-at-home/mosquitto -f mosquitto-values.yaml
helm install openhab kilip/openhab -f openhab-values.yaml
Configure zigbee2mqtt
Start the pod with permit_join: true in /data/configuration.yaml and connect your Zigbee devices. Once paired, set permit_join: false and restart the pod. I did this manually by getting a shell in the zigbee2mqtt pod.
Configure openHAB
Configure openHAB using its web interface.
Configure MQTT Broker
- Install the MQTT add-on.
- Create a new Thing of type MQTT Broker and set the Broker Hostname/IP to
mosquitto.
Philips Hue configuration
Philips Hue color lights require some custom channel transformations. For each bulb, create a Thing of type Generic MQTT Thing with a Color channel and Switch channel. Find the device IDs in /data/configuration.yaml under devices.
Color channel
You will need to install the JS Scripting add-on. To encode the outgoing color, I wrote the following script to be placed in /data/config/transform/color.js in the openHab container:
(function(i) {
    var pieces = i.split(',')
    var x = pieces[0]
    var y = pieces[1]
    var bri = pieces[2] * (254/100)
    return JSON.stringify({color: {x: x, y: y}, brightness: bri})
})(input)
For the Color channel, select type Color Value (HSB, RGB, or CIE xyY) and set the following values (suppose 0x0123456789012345 is the bulb’s ID):
| Property | Value |
|---|---|
| Color Mode | CIE xyY |
| MQTT State Topic | zigbee2mqtt/0x0123456789012345 |
| MQTT Command Topic | zigbee2mqtt/0x0123456789012345/set |
| Incoming Value Transformations | JINJA:{{value_json["color"]["x"]}},{{value_json["color"]["y"]}},{{value_json["brightness"]}} |
| Outgoing Value Transformations | JS:color.js |
| Outgoing Value Format | %s |
Switch channel
For the Switch channel, select type Switch and set the following values (suppose 0x0123456789012345 is the bulb’s ID):
| Property | Value |
|---|---|
| MQTT State Topic | zigbee2mqtt/0x0123456789012345 |
| MQTT Command Topic | zigbee2mqtt/0x0123456789012345/set |
| Custom On/Open Value | ON |
| Custom Off/Close Value | OFF |
| Incoming Value Transformations | JSONPATH:$.state |
| Outgoing Value Transformation | (leave blank) |
| Outgoing Value Format | %s |
Conclusion & Possible Mistakes
While complicated to set up, this home automation strategy requires minimal maintenance once running. If you’re willing to put in the effort, you get an extremely customizable set up that doesn’t depend on any third-party services for operation.
Some mistakes I ran into:
- WiFi interferes with Zigbee, so I had to move my WiFi access point away from the Zigbee controller.
- Using a low power device (Raspberry Pi 4) instead of a desktop PC caused connection issues.
Please feel free to suggest changes to this post if you ran into any issues following this guide!
I tried using Raspberry Pi 4s, but they were not powerful enough and would frequently drop messages causing shenanigans with the lights. Not ideal unless you like debugging in the dark. ↩︎